If you want useful history from your meters and field devices, data logging has to be set up the right way. In EcoStruxure Panel Server PAS800, that means more than turning on a feature once and moving on. You need to activate data sampling, choose the device, pick the right parameters, and set a sampling period that matches how often you want new records.
This walkthrough covers the full flow shown in Schneider Electric’s setup example. It starts at the Panel Server web page, then moves into single-point setup and batch changes. By the end, you’ll know how to turn logging on, adjust current measurements, and confirm that only the intended parameters were changed.
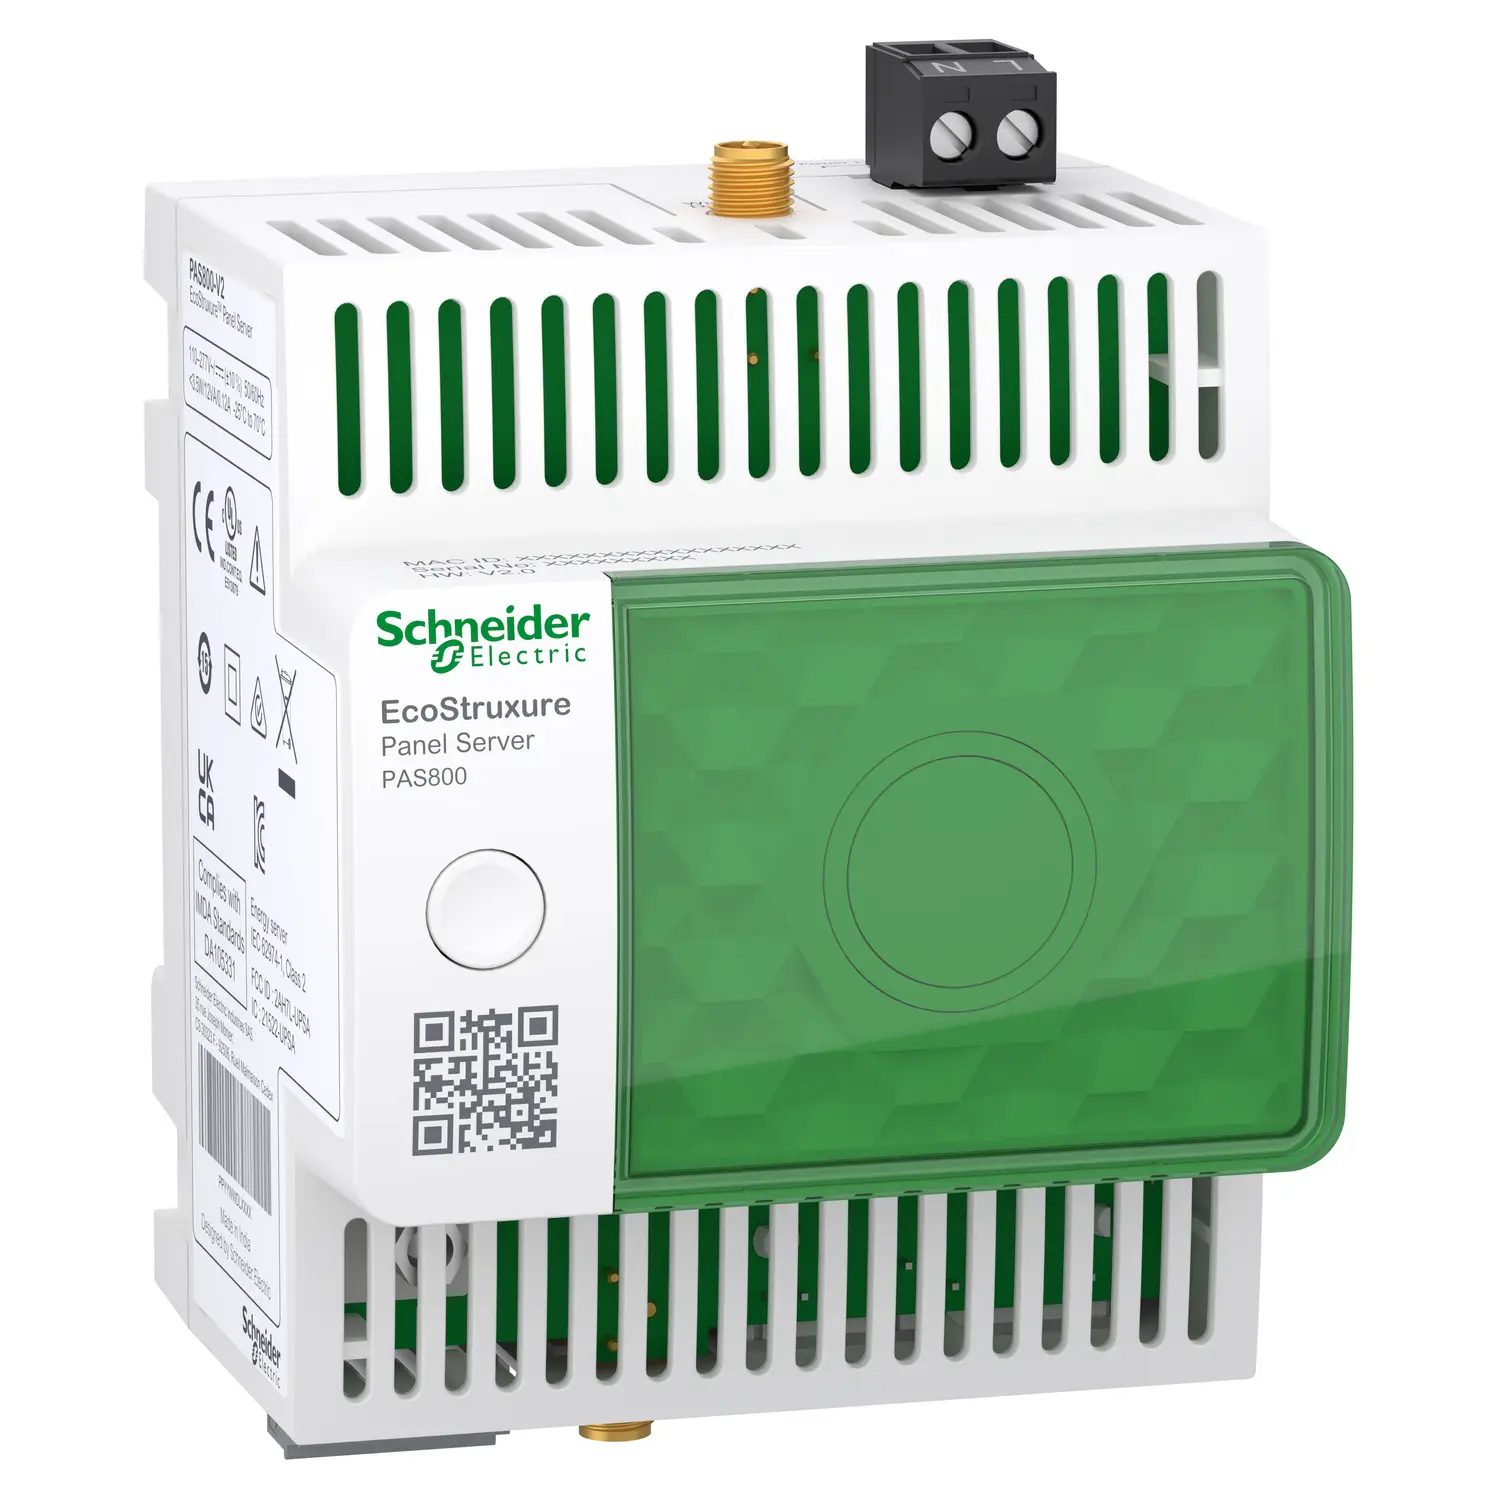
Start with data sampling in the Panel Server web interface
The process starts at the device web page. Open the EcoStruxure Panel Server interface and sign in with the correct credentials. Once you’re in, go to the Data Sampling tab. This is the first checkpoint, because logging won’t work as expected if sampling activation is off.
In that tab, verify that sampling is enabled. If it isn’t, turn it on before changing anything else. That step acts like the main switch for recorded data. You can select parameters later, but the device still needs data sampling to be active at the platform level.
Key point: If data sampling is disabled, per-parameter logging settings won’t produce the records you expect.
For a quick reference on this part of the setup, Schneider Electric’s Data Sampling page in the Panel Server user guide explains how the feature works in the platform. If you want a downloadable reference for the device itself, the PAS800 Panel Server user guide is a helpful companion.
From a practical standpoint, the setup flow is simple:
- Sign in to the Panel Server web page.
- Open the Data Sampling tab.
- Confirm that sampling activation is enabled.
- Open a device and pick the parameters to record.
- Save and confirm the new settings.
That order matters. First, turn on the logging engine. Next, pick what the engine should capture. After that, fine-tune the timing. This keeps the setup clean and reduces the chance of changing a parameter list before the service behind it is active.
The video example applies to PAS800, so keep that in mind if you work across several Panel Server models. The screen flow and available functions can differ by model and feature set.
Configure data logging for a single device and parameter list
Once data sampling is active, move to an individual device. In the example, that device is PM5560. When you open it, the Panel Server shows a list of available parameters for that device. This is where the logging setup becomes more detailed.
Some values may already be configured. That’s normal. A fresh view of the parameter list can include points that already have a default logging period. In the example, several current values are already stored every 10 minutes. That default setup gives you a starting point, but it may not match the trend detail you need.
Because long parameter lists get hard to scan, the filter becomes the fastest tool on the page. Enter a filter for current-related points so the list only shows parameters that contain the word “current.” With the list narrowed down, it’s easier to see which current measurements are already enabled and which ones still need logging.
To add another parameter for logging, click in the Data Sampling column for that parameter. Then set the sampling period you want. The interface lets you choose the interval based on how often the value should be recorded. After that, save the change.
Here’s the setup flow in a compact view:
| Action | Where it happens | Result | | | — | — | | Open PM5560 | Device page | Full parameter list appears | | Apply a current filter | Filter field | Only current-related parameters remain visible | | Review existing values | Parameter list | Some current points may already show a 10-minute period | | Enable another point | Data Sampling column | That parameter is marked for logging | | Set sampling period | Same row or edit control | New record interval is assigned |
The big takeaway is simple: the filter helps you work faster, while the Data Sampling column is where the actual logging choice happens. If you need a deeper description of how Panel Server handles recorded values, Schneider Electric’s data logging guide for advanced models gives more detail.
Use batch configuration to change many current parameters at once
Single-point edits work well for one or two values. However, they get slow when several parameters need the same interval. That’s where the batch configurator helps.
The example uses a filter before opening the batch tool. First, the filter retrieves all parameters that contain the word current and are already enabled. That filtered view matters because it limits the scope of the batch change. You aren’t working across the entire device list. You’re only working on the visible set that matches the filter.
With that subset on screen, open the batch configurator and choose a new sampling period. In the example, the logging period changes to 2 minutes. After the update, all filtered current parameters show the new 2-minute value.
That one change tells you two things. First, the batch tool can save time when the same interval belongs on many points. Second, filters act as a safety boundary. If you define the filter well, you reduce the risk of changing unrelated measurements.
Gotcha: Batch edits follow the active filter. If the page shows only enabled current parameters, only those visible parameters will be changed.
After the batch update, clear the filter. This step is easy to miss, but it’s one of the best checks in the process. Once the full list returns, you can confirm that the other parameters were not modified. Only the intended current points should now show the 2-minute sampling period.
That verification step is important in mixed device profiles. A power meter might expose currents, voltages, power values, energy totals, and status points in the same list. If you batch-edit without narrowing the list first, you can create extra records you never meant to store.
For readers comparing device capabilities, the PAS800 Panel Server datasheet gives a quick look at the product family and core functions. If your next step is moving recorded files off the device, the guide on SFTP publication for Panel Server data logs can help with secure transfer later in the workflow.
Save, confirm the changes, and verify what the device will record
After individual edits or batch changes, click Save and confirm the update. At this point, the system applies the revised data sampling settings to the device.
In the Schneider Electric example, a pop-up appears because some parameters were already configured and their period changed. That message is helpful because it signals that the system is not just adding a new point. It is also revising an existing logging schedule. In other words, the device is adjusting stored parameters to the new interval you selected.
Once the confirmation is complete, the device starts recording according to the recent changes. In the example, current parameters that were moved from 10 minutes to 2 minutes will now generate records at the shorter interval. That gives you finer time resolution, which can help when you need to spot quick load shifts, phase imbalance events, or short-term current spikes.
A shorter sampling period also means more stored records. That’s usually the right tradeoff when you need more detail, but it’s still worth thinking through before you make a large batch change. Not every point needs the same recording speed. Fast-changing electrical values often benefit from tighter intervals, while slow-moving totals may not.
A good validation routine after saving looks like this:
- Review the filtered points one more time and confirm the new period.
- Clear the filter and check that unrelated parameters still show their old settings.
- Watch for any pop-up or warning that says an existing setup was modified.
- Later, review exported or local history to confirm new records appear at the expected interval.
If you plan to inspect or pull the logged data from the Panel Server, Schneider Electric also documents local data export for PAS800 advanced models. That’s useful after configuration, because the real proof of a good setup is clean historical data that matches your intended sample rate.
Why this workflow works well for day-to-day commissioning
This PAS800 method is efficient because it combines two types of control. On one side, you can edit one parameter at a time when only a single value needs attention. On the other, you can filter and batch-edit related points when many of them should share the same interval.
That mix matters during commissioning. A site rarely needs every available measurement logged at the same rate. Some values deserve close tracking, while others only need a light history. The Panel Server layout supports that logic well. You can start from a broad device parameter list, narrow the view with a filter, then make focused changes without touching the rest of the device.
Using the PM5560 example also shows a common real-world pattern. Current measurements often need more frequent storage than a default setup provides. A 10-minute period may be fine for basic trending. Still, a 2-minute period gives a sharper picture of load behavior. If you’re trying to match logged data with operating events, that extra detail can make a big difference.
The safest habit is to think in three layers:
First, confirm the platform can sample data at all.
Next, choose the right points on the right device.
Finally, verify that your filter and batch tools only affect the intended group.
That sequence keeps the setup controlled and easy to review. It also helps when several devices expose long parameter lists with similar names.
Final thoughts on EcoStruxure Panel Server data logging
Configuring data logging in PAS800 comes down to a clean sequence: activate sampling, open the device, select the right parameters, set the sampling period, and save with care. The filter and batch configurator make the job much faster, especially when several current points need the same update. After you clear the filter and confirm that unrelated parameters stayed untouched, you can trust that the device is recording exactly what you intended.