The Schneider TH110 thermal sensor is a wireless, battery-free temperature monitoring device that uses ZigBee 2.4GHz protocol for communication. Here’s a comprehensive guide on how to pair the TH110 sensor with various systems.
Understanding the TH110 Sensor
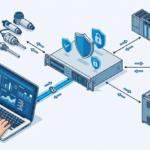
The PowerLogic TH110 is designed to harvest energy from the electromagnetic field generated by current flowing through monitored conductors, eliminating the need for batteries or external power supplies. The sensor communicates using ZigBee Green Power (ZGP) protocol and requires pairing with a compatible ZigBee concentrator or access point.
Prerequisites for Pairing
Power Requirements
- Minimum current: 0.4 A/cm of the peripheral AC live part for energy harvesting
- The sensor must be installed on an energized conductor with sufficient current flow
- For testing purposes, use at least 20A through a copper cable or busbar using a current injection kit
Compatible Equipment
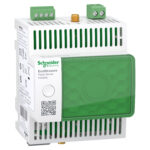
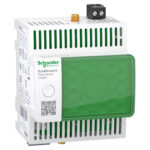
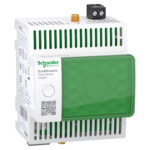
The TH110 sensor can be paired with various ZigBee concentrators including:
- ZBRN32 ZigBee concentrator
- PowerTag Link HD (PTL HD) gateway
- EcoStruxure Panel Server
- Harmony Hub (for certain configurations)
Pairing Methods
Method 1: Automatic Pairing (Default Mode)
By default, the TH110 sensor is in commissioning mode and ready to be paired as soon as it’s powered on:
- Energize the sensor by ensuring adequate current flow through the monitored conductor
- The sensor automatically enters commissioning mode when first powered on
- Open the ZigBee concentrator for device discovery
- The sensor will automatically pair with any open access point within range
Method 2: Using PowerLogic Thermal Sensors Connect App
For MV switchgear and transformer applications:
- Download the PowerLogic Thermal Sensors Connect app on your mobile device
- Connect via NFC or wireless to communicate with the sensors
- Scan the installation file or download the configuration from Schneider Electric Cloud YouTube
- Configure thresholds and alarms based on sensor location
- Export configuration to NFC tag on the switchboard for future access
Method 3: Using EcoStruxure Power Commission (EPC)
For advanced configuration and monitoring:
- Create a new switchboard project in EPC software
- Add the Panel Server device via Modbus TCP connection
- Enter the IP address of the panel server and connect
- Enable automatic discovery for wireless devices
- Ensure sensors are powered on and in discovery mode
- Enter labels for each sensor and configure positions based on installation
- Configure sensor parameters, including equipment type, position, and measured point
- Apply all changes and download the JSON file for SMD configuration
Pairing Process Details
Commissioning Steps
- Prepare the installation:
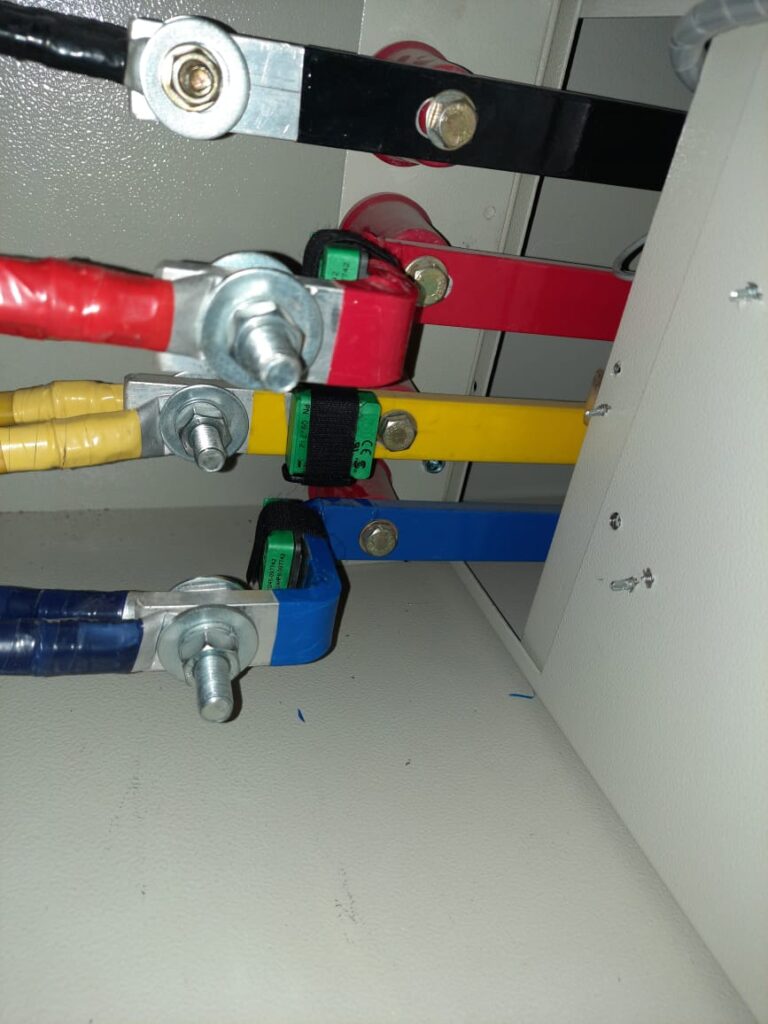
- Install sensors using ferromagnetic ribbon and self-gripping tape
- Ensure proper contact between the sensor thermistor and the measurement point
- Maintain a perimeter range of 60-300mm for monitored parts
- Security considerations:
- The security key exchange occurs only once during commissioning
- Execute commissioning in a secure environment to avoid key interception
- Only one PTL HD gateway should be in discovery mode during pairing
- Use QR codes for identification:
- Each sensor has two identical QR codes on the bottom surface
- QR codes contain the sensor’s ZigBee ID and serial number
- One QR code sticker can be detached for easy access after installation
Communication Parameters
- Transmission period: 60 seconds
- Maximum distance: 100m in free field, 25m through one metal layer, 10m through two metal layers
- Operating frequency: 2.4 GHz ZigBee Green Power
- RSSI recommendation: Around -75 dBm for optimal communication
Troubleshooting Pairing Issues
Common Problems
- Insufficient power: Ensure a minimum current of 0.4 A/cm is flowing through the conductor
- Distance limitations: Keep sensors within the recommended range of the concentrator
- Multiple gateways: Only one gateway should be in discovery mode during pairing
- Power disruptions: Use a UPS-connected current source to avoid pairing interruptions
Verification Steps
- Check RSSI levels to ensure adequate signal strength
- Verify sensor status through the concentrator interface
- Confirm proper installation with full contact between sensor and measurement point
- Use tightening tools (Phoenix Contact PN 1212610 or HellermannTyton PN MK9SST) for proper installation
Post-Pairing Configuration
After successful pairing:
- Configure alarms and thresholds based on application requirements
- Set up monitoring parameters through the chosen software platform
- Create reports and historical data logging as neededyoutube
- Export configuration to backup systems or NFC tags for future referenceyoutube
The TH110 sensor, once properly paired, will automatically reconnect to the configured gateway even after power cycling, ensuring continuous thermal monitoring of critical electrical connections.